VFX Project Spotlight: Creating a CG Robot Arm
This article was originally published on The Rookies.
VFX Generalist Franz Gutjahr, a recent graduate of PIXL VISN Media Arts Academy in Cologne, shares an in-depth breakdown of his CG robot arm VFX project. In this article, he walks through his workflow, the challenges he faced, and the lessons that can help others avoid common pitfalls in similar projects.
Choosing the Project
I chose this project for two main reasons. Around that time, I watched The Creator for the first time and was blown away by the visual effects. In many breakdowns, you could see how they filmed normal actors and replaced parts or even entire bodies with robotic components. That inspired me to try something similar.
The second reason was more practical. It allowed me to show a wide range of skills in one shot: planning and filming a plate, creating a 3D scan and HDRI, tracking the camera and the actor’s arm, painting out the original arm, modeling, texturing, rigging, animating, lighting, rendering, and finally compositing everything into one cohesive shot.
When picking a personal project, choose something that excites you. If it is for your demo reel, also think about which skills you can showcase.
Reference
Gathering reference is always the first step to a successful project. I prefer keeping my references minimal. If I had downloaded a hundred pictures of robot arms, I would never have decided on a design. Working with a few strong references helped me settle on the look much faster.

Filming the Shot
I started with a simple storyboard. Since it was just one shot, it did not need to be elaborate, but it helped me visualise the tone and camera movement.
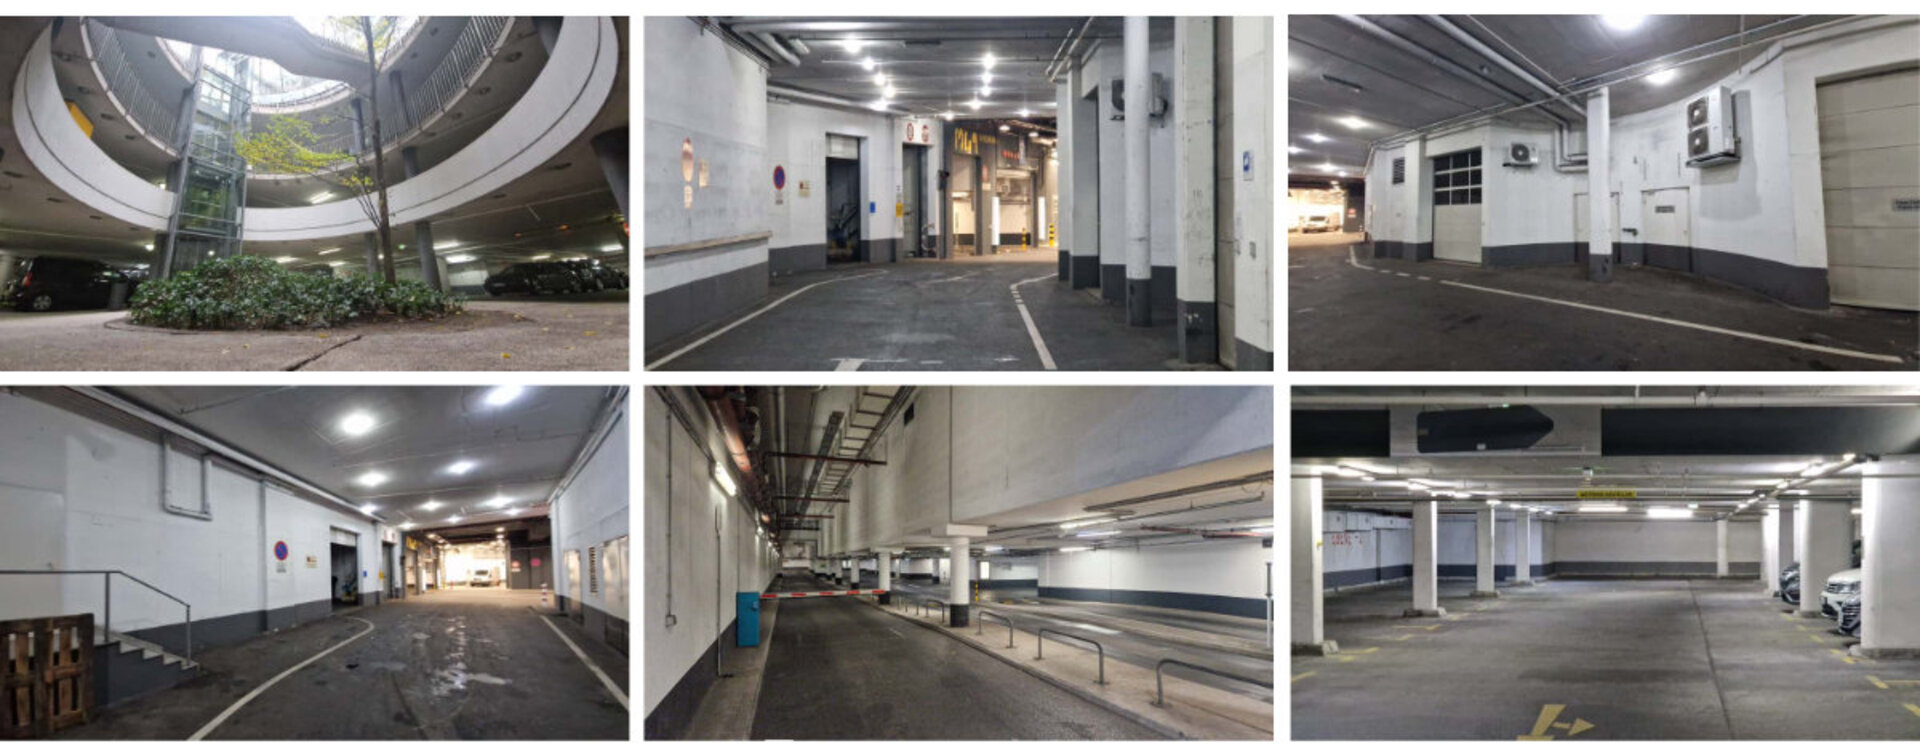
Location scouting came next. Luckily, below our school there was a massive parking garage full of ramps, tunnels, and interesting lighting. It matched my vision perfectly and the lighting was pretty easy to replicate in 3D. When you scout, take photos and videos to test out different angles and camera movements. Then review them on a big screen. This way, it is a lot easier to decide on the final composition.
For the performance, I asked my classmate Elena Rausch to act in the shot. Her style fit the setting very well, so we did not need any costumes. (By the way, she is a great animator. Check her out on LinkedIn!)
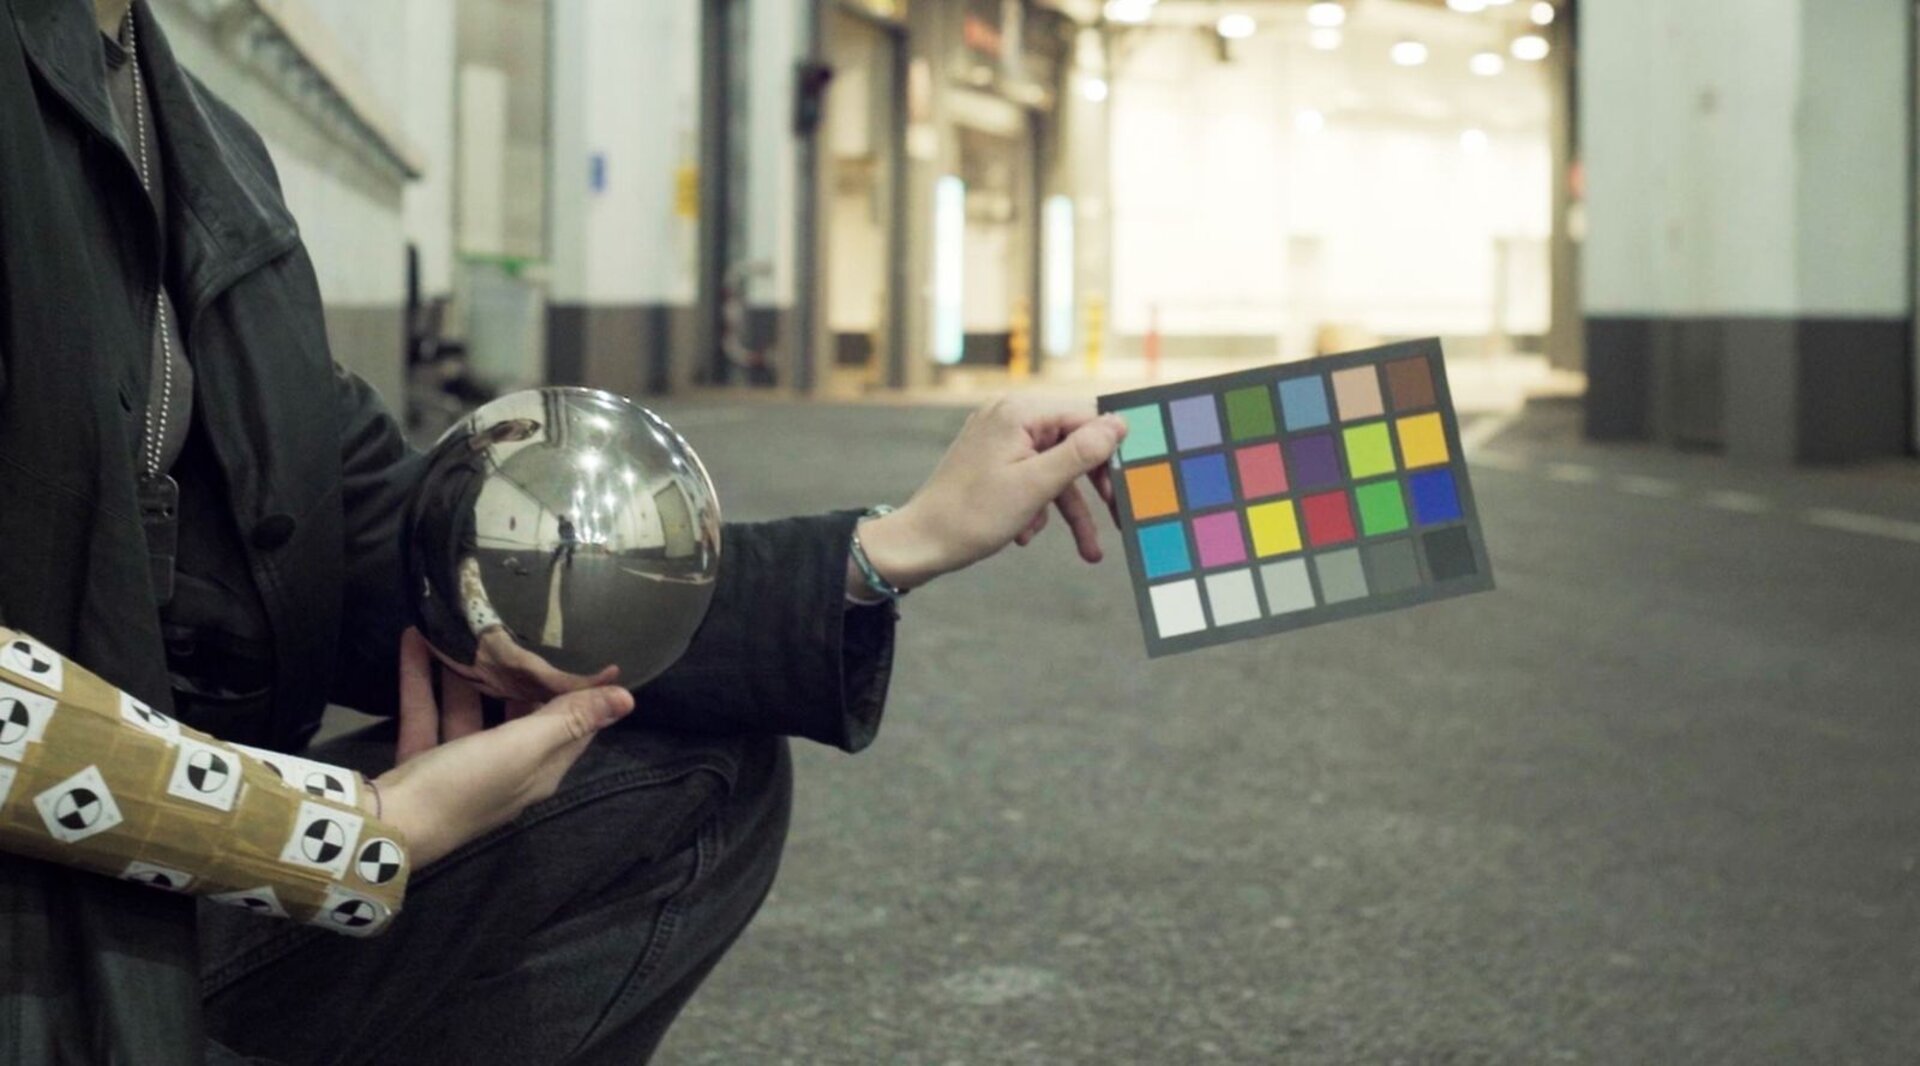
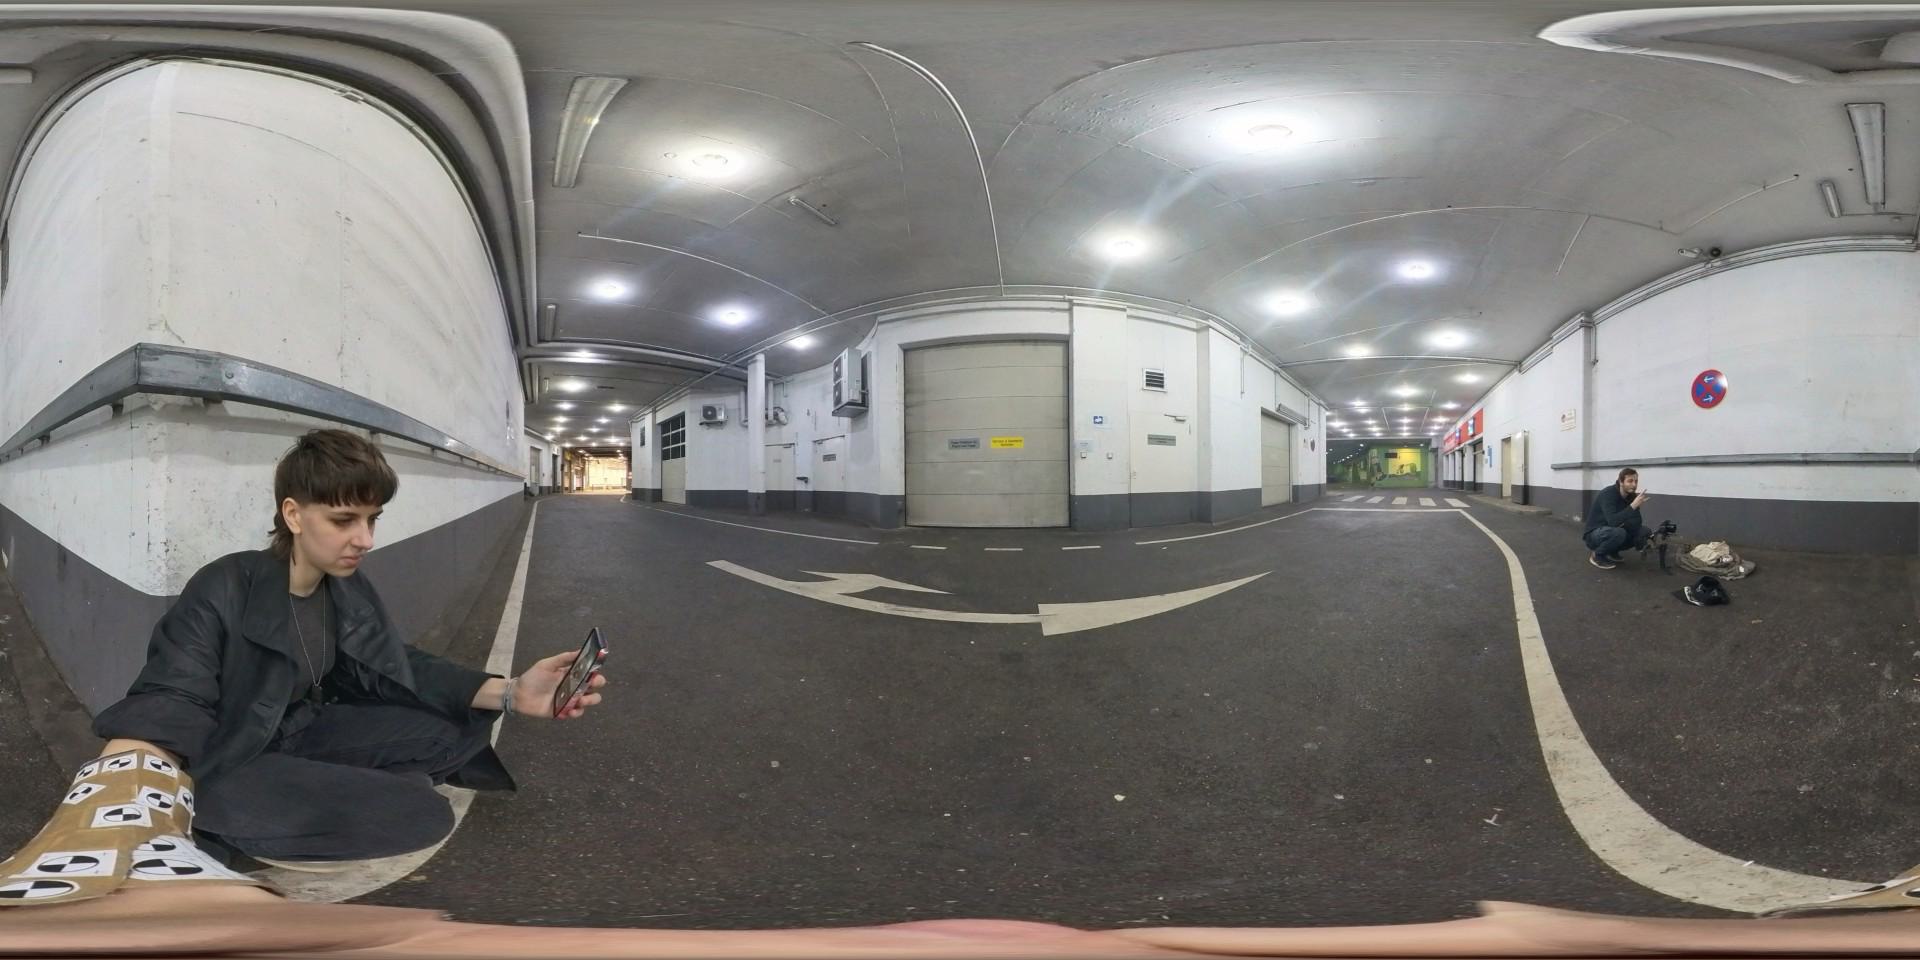
To capture lighting and colour reference, I borrowed a chrome ball and colour checker from my school. Elena also had a 360° camera I was able to use to create the HDRI. Lastly, I scanned the set with Polycam for lighting and tracking reference. To track the motion of the arm, Elena wore a “tracking device” (It's basically a cardboard tube with some tracking markers) over her forearm.
We shot around 10 takes, plus a clean plate with the same camera movement. It is always worth doing multiple takes, especially for single-shot projects. It gives you a lot more options later on.
Preparing the Footage
Before diving into modeling, I wanted to make sure my footage was actually usable. I shot in 4K S-Log3 and converted everything to ACES EXRs in DaVinci Resolve. Then I denoised the shot in Nuke using the Neat Video Denoiser which is one of the best options out there.
Next came camera tracking in Syntheyes. It was only my second time using it, but once I got the basics down, it was pretty straightforward. A great feature is that Syntheyes can remove lens distortion and export a Nuke script to undistort and redistort your footage automatically.
Tracking the Arm
In Blender, I imported the tracked camera and used KeenTools GeoTracker to track the arm. For that, you need a 3D version of what you are tracking, so I scanned the “tracking device” Elena was wearing and used that model. I aligned it to the footage and tracked the motion across the shot. Then I baked that movement to an empty object, which later drove my robot arm rig.
To check if everything lined up, I also imported the 3D scan of the environment and matched its scale to the footage. The camera track was not 100% perfect, some areas at the edges of the shot drifted slightly, but since the arm was centered in the frame, those errors did not matter for the final shot.
Originally, I tried tracking the arm directly in Syntheyes with the markers, but the motion was too fast and blurry. GeoTracker ended up being the better option.
Modeling and Texturing
Since this shot was all about compositing and I never showed the arm in close-up, I did not worry too much about clean topology. I focused on speed and overall design instead.
To get the proportions right, I took a photo of Elena’s arm and sketched the robot design over it. I used that as a guide for modeling. Most of the arm was built from scratch, but I also used some kitbash parts for smaller mechanical details. Kitbashing is a huge time-saver in VFX because it gives you complexity fast without spending days modeling little details.
To simplify compositing later, I also modeled a small section of “CG skin” where the real and robot arm meet. That made blending the two much easier.
All texturing was done in Substance 3D Painter. The main trick is balancing procedural materials with hand-painting. Dropping a smart material on your model is tempting, but it rarely looks convincing. Adding hand-painted wear and colour variation helps tell the story of your model and makes it feel real. For my robot arm, I wanted it to look worn and battle-tested, as if the character had been through a few fights. I added scratches, dents, and bullet marks, especially around the knuckles, to show where the metal had taken hits and the paint had chipped away.
Rigging and Animation
I switched to Maya for rigging and animation. Since the arm was mechanical, I did not need any skin weights, but placing the joints correctly was crucial so the parts moved properly. To speed things up, I placed empties in Blender at all pivot points and imported them into Maya to use as guides to which I could snap the joints. This way I could place all of them correctly.
I set up a simple rig and imported the tracked camera and arm motion. The tracking was good overall but needed some manual tweaks, especially when the actor rotated her arm. I reanimated those few frames by hand to make everything line up perfectly.
I did not match Elena’s hand movement perfectly on purpose. Instead, I slightly exaggerated the motion to make it feel less human and more robotic. Her real hand movements were too smooth and natural, so I introduced a bit of stiffness and sharper timing in the animation to give the arm a more mechanical character.
Lighting and Rendering
For lighting, I imported both the HDRI and the 3D scan of the set into Maya. I used the HDRI mainly for reflections and ambient light, removing the direct light sources so I could control them manually. Then, based on the scan, I placed simple area lights where the real lamps were.
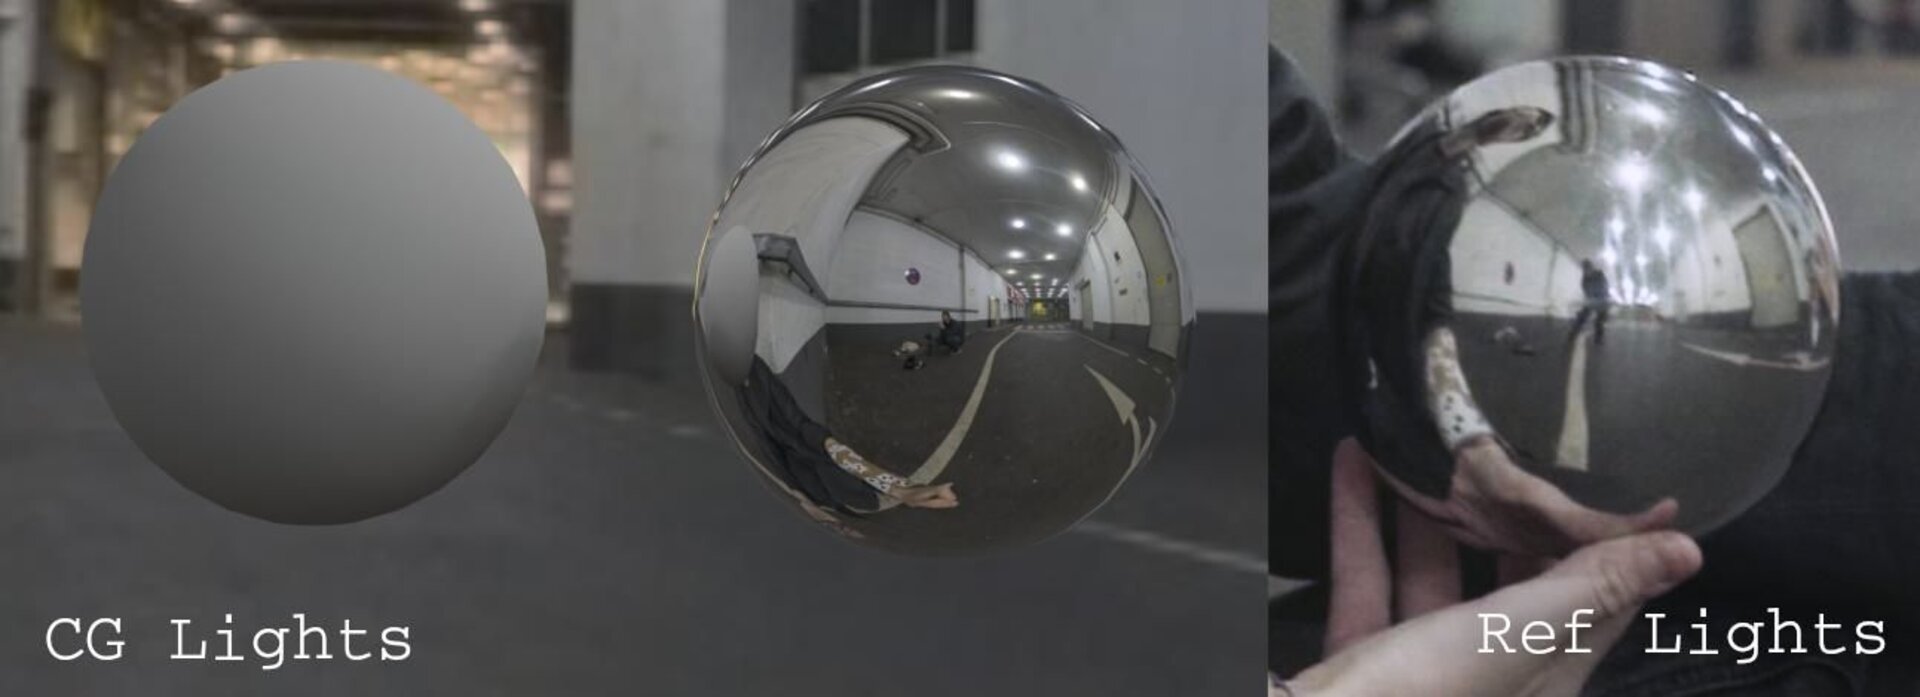
In the end, I had about ten lights, grouped into four light groups: front, top, back, and ambient. Each group was also split into diffuse, specular, and subsurface AOVs. I rendered everything in Redshift and exported a few utility AOVs like cryptomattes and position data. Most importantly I exported the Object Position AOV, which provides object-space position data. With this AOV I was able to create masks in Nuke that stick to the rendered object.
Compositing
Finally, the fun part: compositing everything in Nuke.
I brought in all my assets, the plate, undistort and redistort setups from Syntheyes, the tracked camera, and the rendered robot arm.
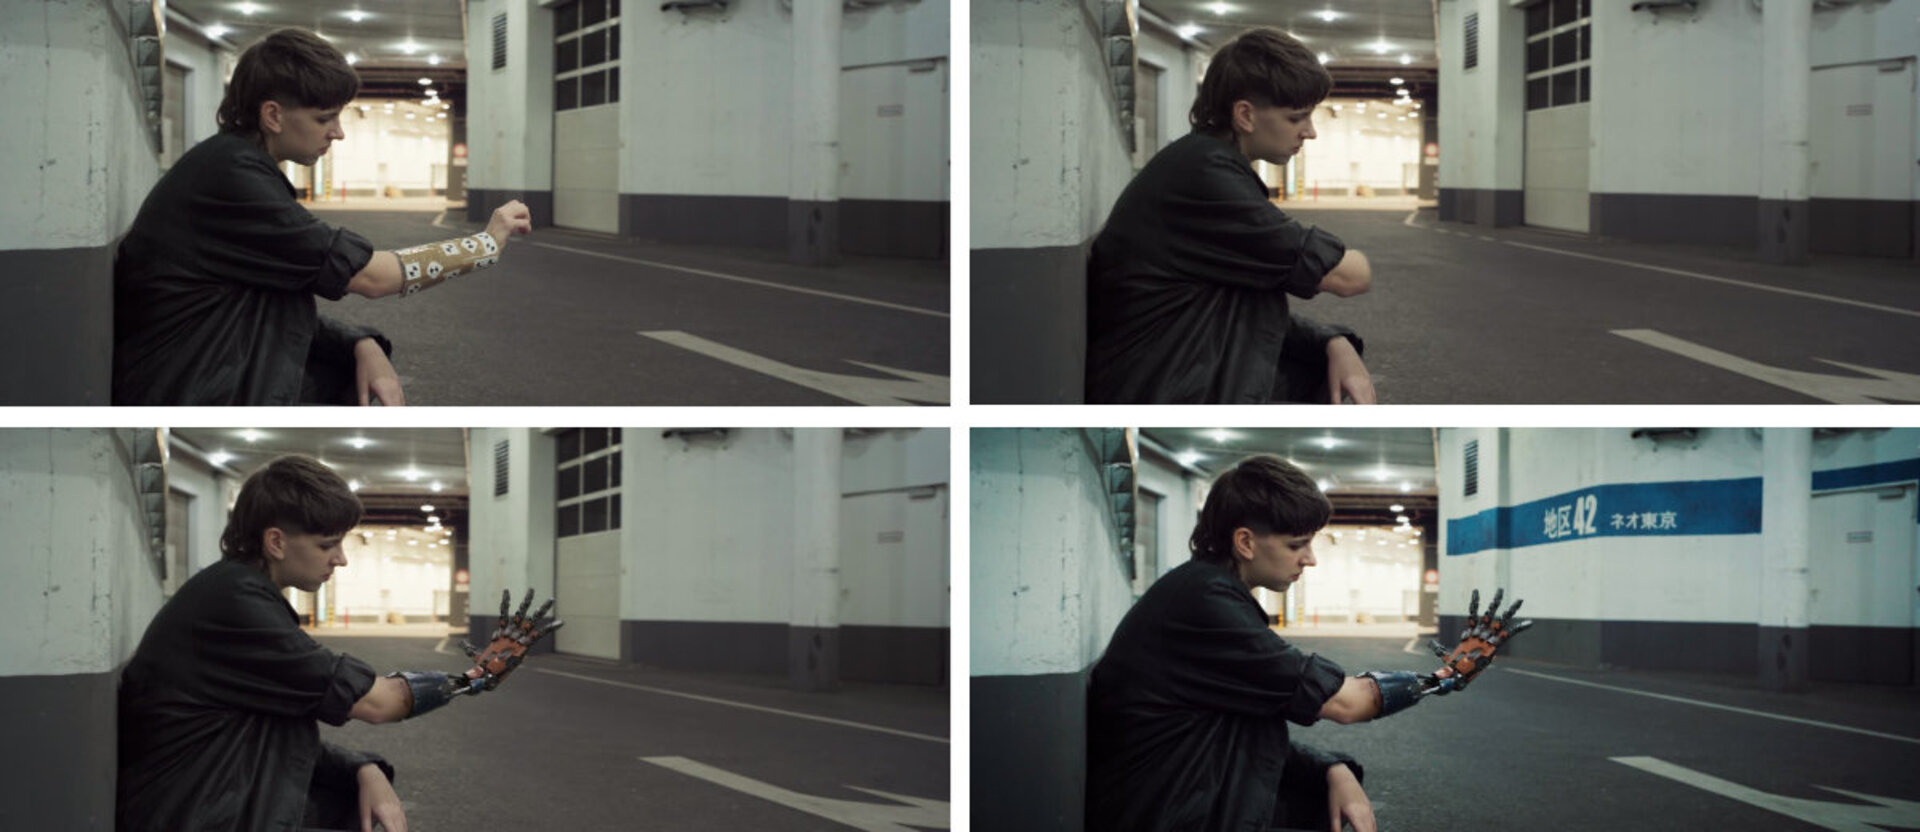
First, I painted out the real arm. It is tedious work but straightforward. I roughly masked out the arm and rebuilt the background behind it. For that, I recreated a simplified 3D version of the environment in Blender, imported it into Nuke, and projected patches of clean frames onto it from different points in time. Then I rendered it with the scanline renderer and placed it behind my masked footage.
Once the plate was clean, I added some subtle story elements, like paint and wear on the walls, by painting directly in Nuke and projecting those textures onto the same 3D model.
Then it was time to integrate the CG arm. I built a back-to-beauty setup to combine all my AOVs. I matched the CG skin tone to the real one and used the Object Position AOV to create a soft transition mask. I adjusted the light groups to match real lighting, toned down reflections, and then re-added lens distortion before merging everything onto the plate.
To make the arm sit naturally in the shot, I matched the black levels, saturation and chromatic aberration. I also added light wrap so that some of the plate’s colours bled into the arm. Finally, I regrained the shot. Grain is one of the most important finishing touches for VFX because it really ties everything together. In this case, I could not just use the original grain of the shot on top of the comp because the real arm was still visible in it. So I created a difference mask between the comp and the plate to blend custom grain only onto the changed areas.
After that, I did a final colour grade and added a slight vignette to make the image pop.
Lessons Learned
If it sounds like everything went smoothly, it did not. At first, I did not have a clear vision for the shot and kept changing things. My original concept was completely different, an outdoor night shot with a futuristic city in the background. The first batch of footage turned out too dark and noisy, so we reshot it. The second version was better, but the arm was not visible enough and tracking was a nightmare.
Eventually, I decided to start over again. This time, I focused on designing a shot that actually showcased the robot arm. I planned the camera and performance in detail, picked a better location, and shot during the day. That version finally worked.
All this could have been avoided with better preproduction. Planning a VFX project does not just mean collecting references. It should include doing storyboards, testing camera moves, scouting locations, and maybe even doing a quick 3D previs. It takes time, but it saves you a lot of headaches later.
This project taught me a lot. It was the most complex shot I have tackled, and it really showed me how important proper planning is. I also learned not to be afraid to start over when something just isn’t working. A huge thanks to Elena Rausch for helping me out with this Project and for agreeing to all the reshoots!
If you want to look at the final result please have a look at my demo reel: